If you are an aspiring photographer, you very likely have a camera phone. If you are a beginning photographer, you may be confused as to how to really take pictures. While it is important to know how to capture great images, it is just as, if not more, important to learn how to achieve great exposure. Balancing the lighting in photography is a skill that takes time to master but is essential to creating professional-quality photographs.
While photography was once viewed as a silent art, it has evolved into a technology-driven field. Advances in technology have redefined the photography profession, and while the tools and methods of photography have changed, its basic premise has stayed the same: capturing light. Photographers rely on using light to enhance their photographs, which requires understanding light.
Lighting is the single most important factor in photography. Without the right lighting, your photos will lack vibrancy and depth. And without the right lighting, the idea is pointless. There are three primary lighting types for photo capturing: backlighting, side lighting, and front lighting. Each of these lighting types has its unique advantages and disadvantages.
Here is A Step-By-Step Guide to Balancing the Lighting:
Control Base Exposures
We spend most of our time indoors. An artificial light source is necessary to keep ourselves warm, but we can try to achieve an indoor ambiance by controlling the lighting level in a room. We can create lighting conditions that make us feel comfortable and safe using a balanced approach. The lighting in a photography session is most important in controlling base exposure. If the lighting is not balanced, you can get very dark or light images. When balancing lighting, the first step is to adjust the lighting on the camera. In order to achieve a good balance, the camera should be set to its preset white balance. The white balance is adjusted for daylight, fluorescent, tungsten, and flash. A camera’s white balance should be set to match the lighting in the scene.
Image Focus
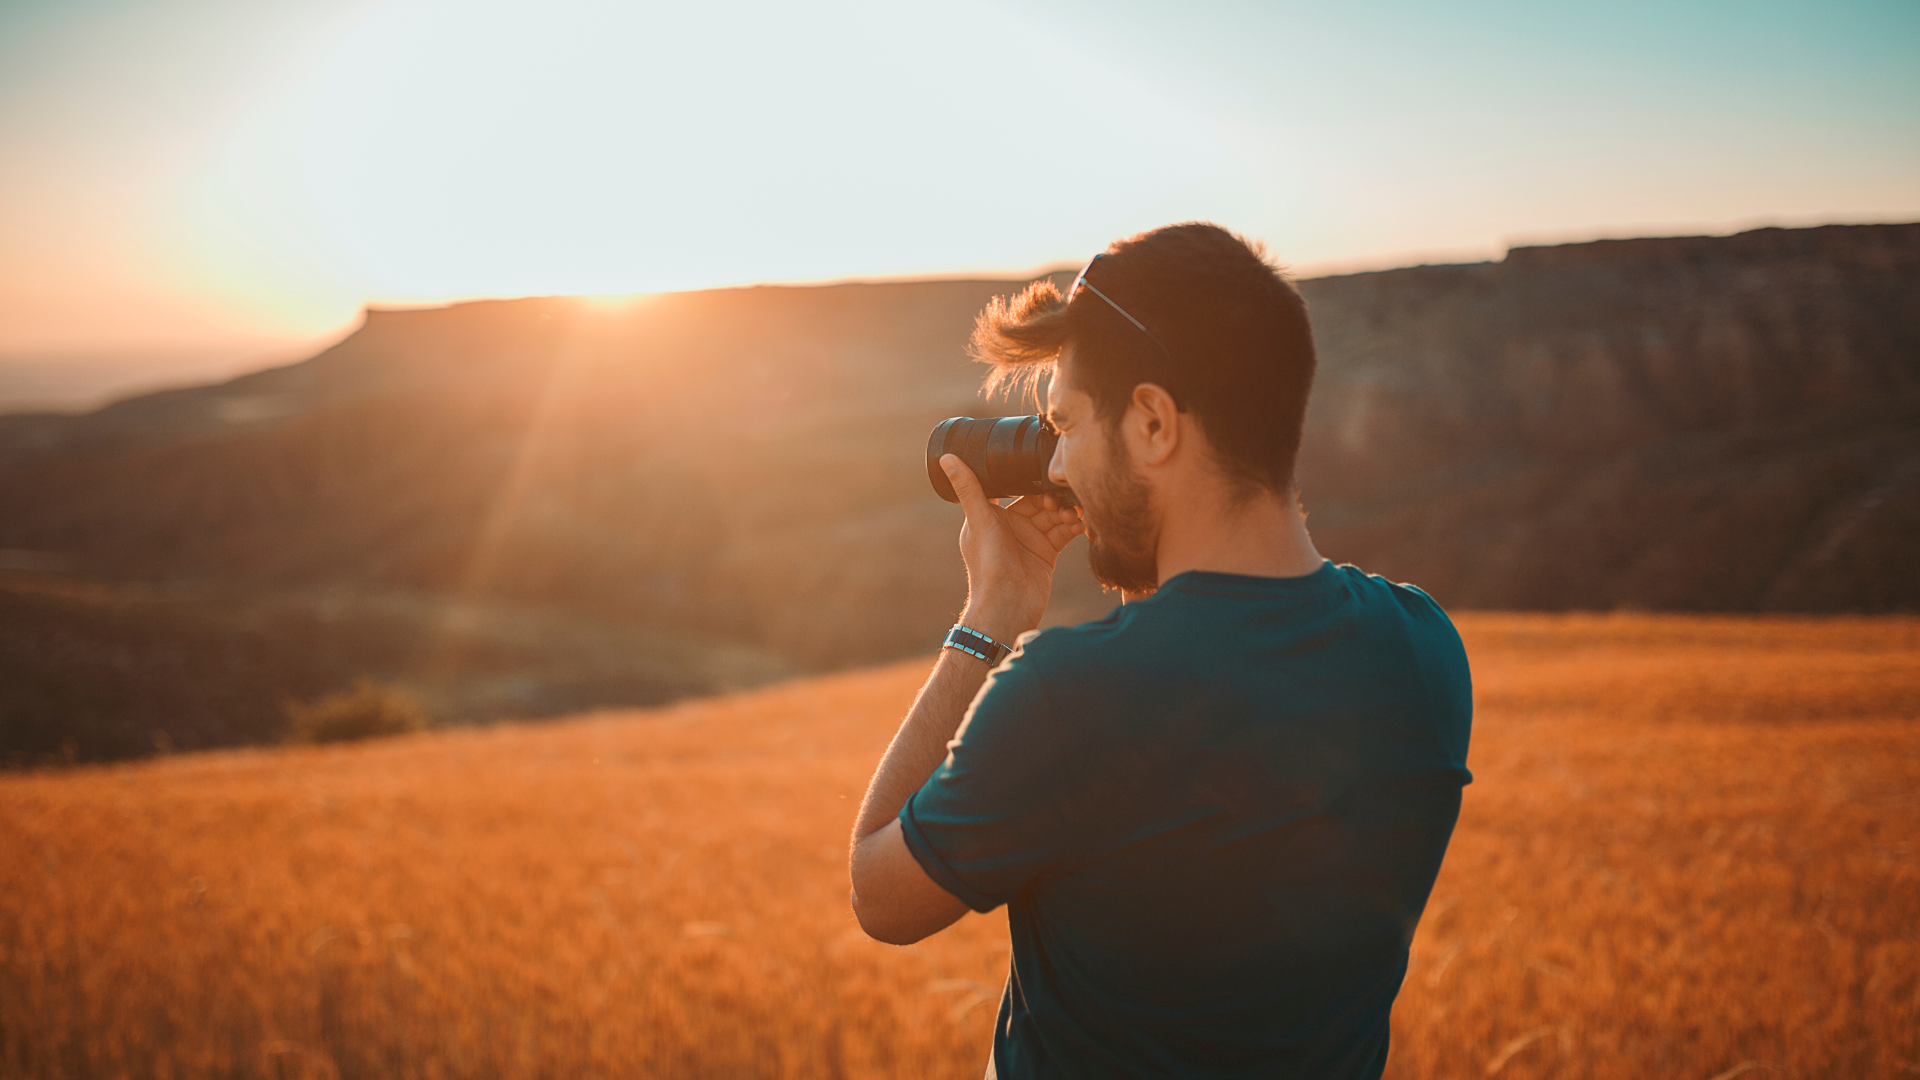
When photographers talk about the importance of lighting, they usually refer to the quality of the light or the shadows. When it comes to natural light, there are different types of light. The type of light you can use will depend on your subject. The images on the viewfinder or LCD screen can be seen differently by an observer during photography. Especially when you take photos of a subject with two different lights—a bright background and a dark subject. For instance, when you shoot a portrait, the light on the subject’s right side is brighter than the left side, which results in the subject being lighter than the background. The quality of a photo depends on the lighting. There are two kinds of lighting: natural light and artificial lighting. In natural lighting, the light comes from the walls and sky. This is good for portraits because most people look their best when there is some natural light. On the other hand, artificial lighting provides a more even light, better for landscapes.
Start The Exposure
Photography is a craft that is incredibly difficult to master. But, there is a trick to balancing the lighting in photography. The images you take with your camera must look just right—not overexposed, not too dark. Most photographers use three basic lighting styles: ambient, fill and rim when it comes to photography. Ambient lighting is what’s available around you, such as the sun. Fill lighting, also known as a hair light, is a light that’s placed in front of a person’s face to make them look their best in photos. Rim light refers to light coming from a source behind a person, such as a window or a lamp.
It is important to balance the light between the front and the back when photographing a subject. This can be achieved by using a tripod and setting it down in a balanced way. Usually, the subject should be between the camera and the light. Lighting is probably one of the most important elements of photography, yet it’s one of the most misunderstood. Anyone who has spent hours shooting a lackluster picture or one with blown-out highlights can attest to that. And yet making great lighting decisions can be one of the most straightforward aspects of photography once you get it.
Lighting is an integral component of photography, and a successful picture requires time and effort. If you are taking a picture of a subject in a dimly lit area, you will need to adjust your settings accordingly. The ability to balance lighting in photography helps create the mood you want in your image. If you’re an aspiring photographer looking to upgrade your lens and lighting equipment, it’s essential to understand the light source you’re using and how that source affects the image you’re capturing. Learning how to use your camera’s light meter and picture settings can help you better produce photos that properly showcase your subject.